Sunday, June 19, 2011

Sketchup-Exterior Vray Animation

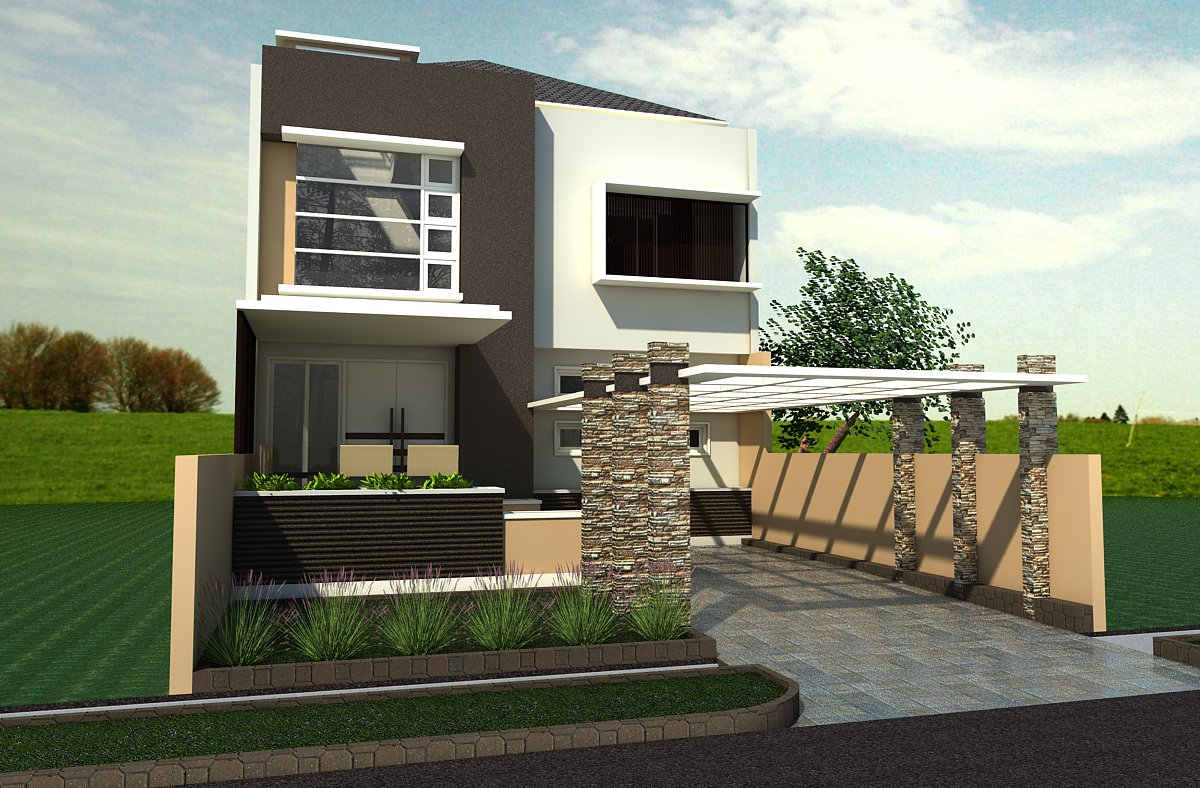
Vray Exterior setting is actually easier than ray Interior setting (at least for day scene), because we can simply use the default light from sketchup, adjust it in Vray parameter setting, and voila! You have yourself a Vray rendering.

Here's a few tips you can use when creating a Vray exterior rendering :
  1. When using wood, metals or any material that using reflection, if used only as accent and the quantity isn't dominant, you don't need to give it any reflection
  2. Bump value for exterior scene should be bigger than you usually use in interior scene, because sunlight can sometimes washout your texture.
  3. Check the back of your glass object (the inside part) because sometime you just map the material from the outside and the material will be see-through, but when you render it, it will create shadow (which of course we won't want from a glass material)
  4. If you using only one light direction and value for the entire scene, you can save you Irradiance Map Value and Light Cache Value to a specific file and then change the mode from Single Frame mode to From file mode. This way you can save a lot of rendering time.
  5. For exterior scene, you can add texture for your reflective material, such as glass or metal that is dominant in your scene. It will make it more realistic. But the texture should be in the same theme with your background


Have a nice day!

Monday, May 30, 2011

Sketchup-Using Google Earth

Sometimes after completing a building, our clients still can't imagine how the buildings will be placed in its actual environment, Google SketchUp provides the google toolbar, which basically use google earth to position the building using contoured map.

We can import the the contoured map into our design and then after placing our building or object, we can export it again to google. And then we can save the image from its actual location from many views. Although it is not precise contours or landscape, but at least it will provide clearer image to our client, not to mention more practical, about how our building will be positioned.

Furthermore, we can also edit the contours of which we get by using the sandbox tools,such as add detail, Stamp and smoove.


Have a nice day!

Saturday, May 14, 2011

Max-Creating Vray material using Slate Material editor

After learning how to create material scene in tutorial 08, now it’s time for us to learn how to create Vray material. The material that we’re going to disscuss consist of standard Vray Material, floor material (porcelaine or marble), wood, glass and metal (gold). These material will be used quite often both for interior or exterior 3dsmax scene.

However, to achieve realistic results, we have to adjust the material that we’re going to make with our scene. Because there are many factors that affect the result, for example : the colour that we choose, the brightness of the room, how many lights we’re going to use, etc. So using the same parameter can generate different result in different scenes.  But still, the parameter given in this tutorial, can be a good start. You have to be creative in developing those parameters.

I’m also going to introduce the use of Slate Material Editor, which is available in 3ds Max 2010 and above. If you are using 3ds max 2009 or below that, it’s not really a problem, because the principle still the same.


Have a nice day!!

Monday, May 9, 2011

Sketchup-Creating Blanket and Pillow

Creating flexible or organic object using Sketchup is a bit difficult, unless we use certain additional plug-ins. But some creative tricks, we can create those kinds of models.
For example, the tricks in this tutorial, we're going to create blanket and pillow (which in its development could be use to create a table cloth), actually only a combination between using sandbox tools and soften tool in sketchup.

In some cases,  when we make basic polygon with a lot of sharp corner, it's possible to lose some polygon faces. But it can be overcome with enough practice.


Have a nice day!

Wednesday, May 4, 2011

Max-Creating Vray Scene Using Standard Camera

Using Vray doesn't mean that you have to use all of Vray tools. Standard 3ds Max Camera and Lights can also integrated well into a Vray Scene. The setting is so much easier (especially for the camera), and with proper settings, the result can be as good as using Vray camera and Lights. Of course we still have to use some rectangle Vray Light as the primary light sources. But then we can support it using Photometric light and target Direct light.

The advantage of using Photometric light is, when creating shaped light such as down light or wall light, we can see the shape of the light on the photometric light, so we can estimate the direction or the shape result when we render the scene. Also if we have a lot of lights you can see the difference between one light and the other.

One tip, try adding a disable Vray sun to the scene in this tutorial, with the same direction as the direct light. The scene will be more realistic


Have a nice day!